Have you ever woken up in your tent in the middle of the night to find water dripping on you? If you’re reading this, there’s a good chance that you have! In this article, I’ll show you how to waterproof your tent to keep you dry and let you have a good night’s sleep, no matter how heavy the rain is outside your tent.
Personally, I have woken up a number of times to find water leaking through the seams of my tent straight onto my sleeping bag. Getting up and trying to fix it in the middle of the night is a cold, wet and frustrating experience.
By the end of this article, you’ll have a nicely waterproofed tent, safe from any leakage.
Do You Actually Need To Waterproof Your Tent?
Just because you have noticed water leaking into your tent during a rainstorm, it doesn’t necessarily mean that you have a waterproofing issue.
Assuming that it isn't just condensation, here are two potential causes of water leakage into your tent that are unrelated to waterproofing.
Potential Cause #1: Outer fly incorrectly pegged out. If you don’t peg the fly out far enough to ensure that it isn’t touching the inner tent at all, water landing on the fly will quickly migrate through the fly and adhere to the inner tent.
Solution: Simply re-peg your outer fly out so that it is taut and separated from your inner tent.
Potential Cause #2: Your ground sheet (aka tent footprint) is too large. If your ground sheet is larger than your tent, water running off the outer fly will fall onto the ground sheet and then pool underneath your tent.
Solution: Select a ground sheet that is smaller than your tent to prevent water pooling.
If neither of these are the cause of the leakage, then you may need to re-waterproof your tent.
Canvas Tent Waterproofing
Canvas tents may leak water the first few times that you use them. Needles used to stitch the canvas together leave small holes during production, which can let in water.
When the tent fabric comes in contact with water for the first few times, the canvas weave swells to fill and seal off these holes. Until this process is complete, you may see some leakage in your tent.
I recommend that you season your canvas tent after you buy it by spraying it with water for about 5 minutes, then leaving it to dry fully. Once it is fully dry, repeat the process two more times. Your canvas tent should now be fully waterproof.
How Do I Know Whether I Should Re-Waterproof My Tent?
The best way to confirm whether you have a waterproofing issue is to test it! Set up the tent with the outer fly then, using a hose with a spray head, spray water over the entire tent, including the seams.
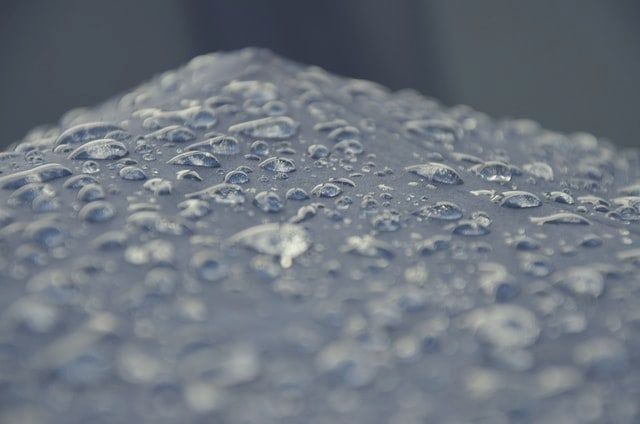
If water fails to bead up on the tent, or you notice it soaking through the tent in any spots - hop inside the tent to check this out - you should re-waterproof the tent.
How To Waterproof A Tent
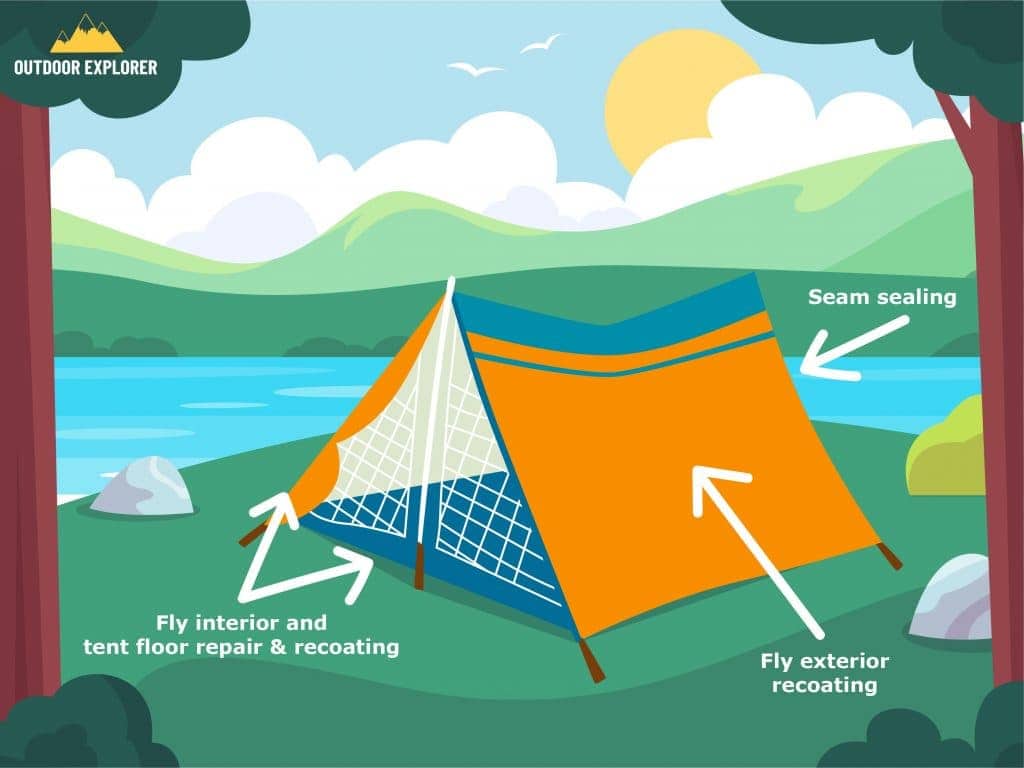
There are three major steps to waterproofing your tent. Depending on your tent’s condition, you may need to carry out all three steps.
Before you get started with any of these steps, you should hand wash your tent to remove any dust, dirt or debris that might inhibit our ability to properly waterproof the tent.
Dry it fully, then start with the waterproofing steps necessary for your tent.
Seam Sealing
For a single walled tent, the seams are located on the inside of the tent body. For double walled tents (ie. tents with outer flies), the seams are located on the inside of the fly.
If you think that these seams of your tent are the culprit, let’s get started with sealing them. Here’s what you’ll need:
Here’s how to get started with sealing the seams:
- Turn the fly inside out so that you can access the seams
- Inspect the seams for peeling seam tape
- Carefully remove the peeling seam tape without disturbing the intact tape
- Use the rubbing alcohol and isopropyl alcohol to carefully clean the seams
- Apply a thin layer of sealer to the seams
- Use the skewer or brush to spread the applied sealer, ensuring that there is an even layer of about 1mm over the length of the seam
- Allow the sealer to dry completely before packing away the tent
Note that if 1 seam appears to be leaking, it’s likely that the other seams are degraded and close to losing their waterproofing ability. If you have already gone to the effort of sealing one seam, you may as well seal these other ones too.
Prefer it in video format? Check out this great video by REI which will walk you through the steps below.
Fly interior and tent floor repair & recoating
To fix general seepage through the fly or tent floor, let’s repair any tears and then reapply the original urethane coating. This is especially important if you have noticed the original coating on the tent floor or inside of the fly flaking off.
Here’s what you’ll need:
Here’s what to do:
- Look for any tears in the fly or tent floor
- Apply waterproof tape to the tears to patch them up
- Clean off any flaking coating carefully, using the old toothbrush
- Apply tent sealant over the entire inside of the tent fly or over the entire tent floor
- Let the sealant dry completely before packing the tent away (wait at least 1 day)
Fly exterior recoating
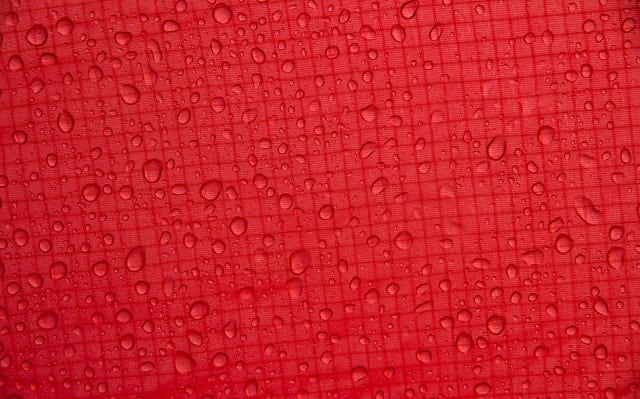
If you have noticed that water no longer beads up on the exterior of your fly, it’s time to replace the water resistant coating.
Here’s what you’ll need:
Note that the water repellent spray that you should use depends on whether you have a single walled or double walled tent. Single walled tents are made from different materials, and therefore need different types of spray.
Most tents tend to be double walled, other than the very cheapest tents out there.
Here’s what to do:
- Setup the fly over the tent as you would normally
- Use a hose with a spray head to evenly wet the fly exterior
- Spray the water repellent evenly over the fly (instructions on the package will indicate how much you should use)
- Use a damp paper towel or cloth to evenly spread the repellent over the fly
- Wipe off any areas where excess spray has accumulated
- Let the fly dry completely before packing it up and putting it away (at least 1 day)
Don’t Have Time To Properly Re-Waterproof Your Tent?
Properly waterproofing your tent can take a couple of days, especially if you don’t have the right sealants and sprays on hand.
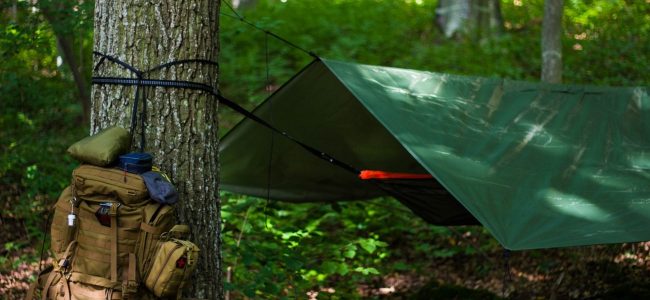
If you have a camping trip coming up and don’t have time to waterproof your tent, an alternative is to set up your tent as normal, then hang a tarp over the top. This will keep the water off your fly and save you from trying to do a rushed waterproofing job.
Think about where the runoff from the tarp will go, and make sure you keep your gear away from that area.
Summary
I hope you have enjoyed this guide on how to waterproof a tent.
Sleeping in a leaking tent is no fun at all. However, you now have everything you need to restore your tent’s waterproofing ability back to where it was when you bought it.
If you still have any queries or need help with the waterproofing process, leave a comment below and I’ll do my best to help you out!
This article may contain affiliate links. I will earn a commission if you choose to purchase a product or service after clicking on my link. This helps pay for the cost of running the website. You will not be disadvantaged in any way by using my links.
Note that while every effort is made to ensure the accuracy of the information on this page, there may sometimes be errors. Check all specifications with the manufacturer before purchasing any product.

