Constantly waking up to water on the inside of your tent? Perhaps it’s even dripping onto your sleeping bag and gear early in the morning? Assuming that you don’t have an issue with tent waterproofing, condensation is most likely the issue.
In this article, I will explain to you what condensation is, and more importantly, how to stop condensation in a tent from building up in the first place.
What Causes Condensation?
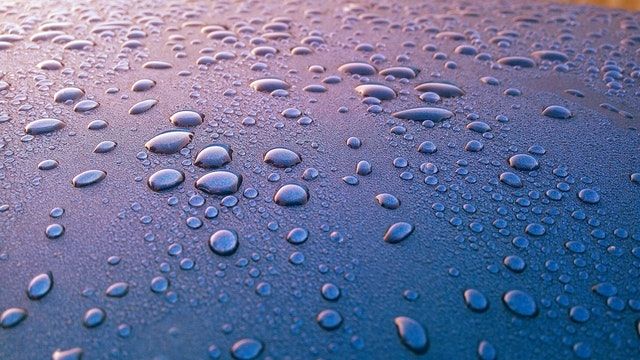
Condensation occurs when moisture in the air condenses on a surface. But let’s backtrack a little.
Much like salt can dissolve in water, water or moisture can dissolve (in this case evaporate) into air. We typically refer to this as humidity.
The amount of moisture that air can hold depends on the air temperature. Warm air can hold a lot more moisture than cool air.
As we sleep in our tents, water from our warm, moist lungs is expelled into the interior of the tent. This simultaneously heats up and humidifies the air inside the tent.
Overnight, the air outside our tent cools, reaching a daily minimum temperature just before sunrise. This cold outside air cools down our rain fly.
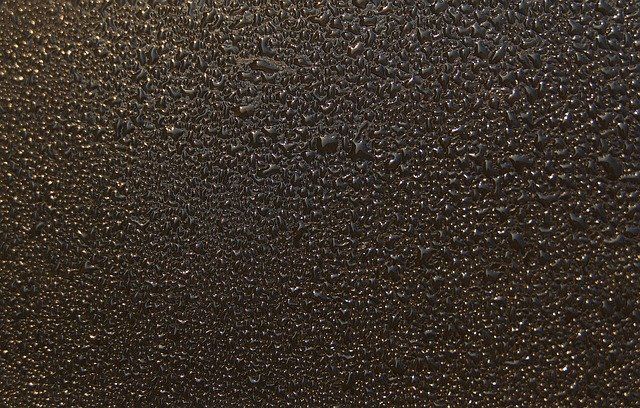
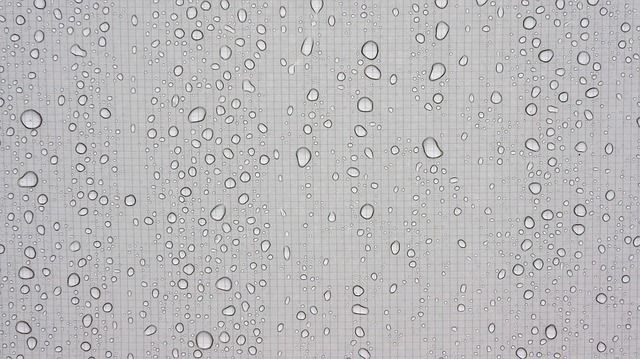
As the warm, moist air in our tent circulates and eventually contacts the cold rain fly, it rapidly cools down. If the air cools down enough, it will reach the point where it can no longer hold its current level of moisture. Consequently, the excess moisture that the air can no longer hold condenses on the inside of the rain fly.
Estimates are highly variable, but it is estimated that a single person expels about 500mL of moisture overnight. It's easy to see how a few people in a tent can quickly create a lot of condensation.
So, how do we go about preventing tent condensation? Let’s find out!
How To Prevent Condensation In A Tent
There are few key steps to ensuring that you minimise the condensation in your tent as much as possible:
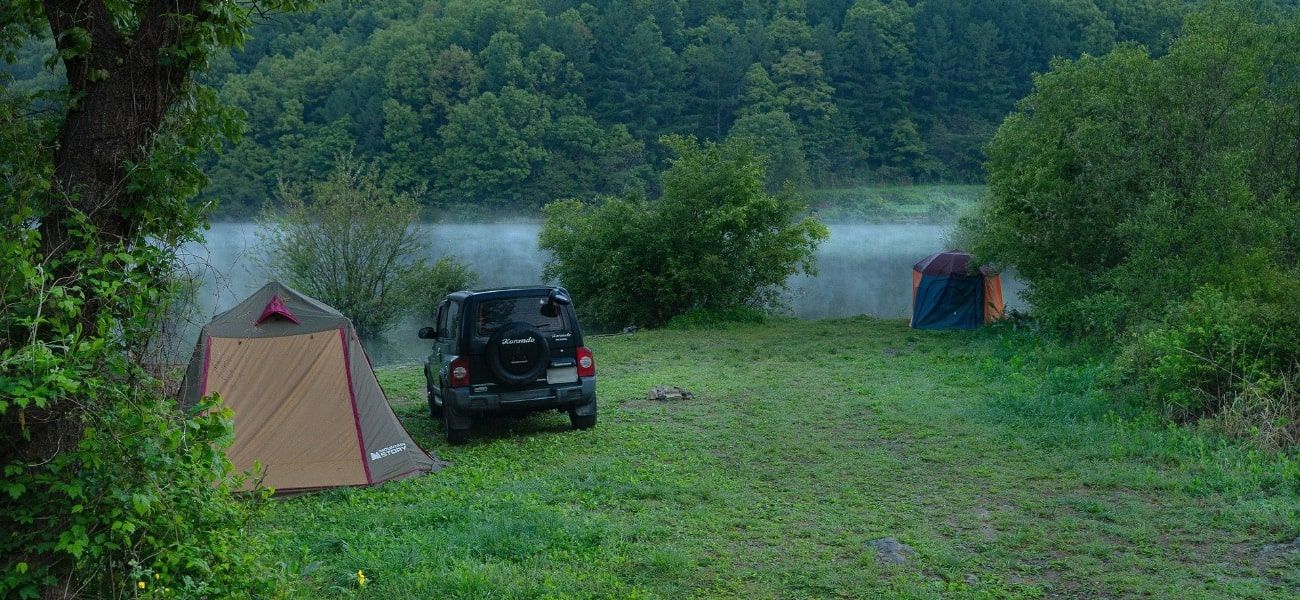
Site Your Tent Appropriately
The first step to becoming condensation-free starts before you have even set up your tent.
There are two main factors we are trying to control here. Firstly, we don’t want the outside of our tent getting too cold in the early morning, as this cools down the rain fly and promotes the formation of condensation.
Secondly, we don’t want to start off with moist air in our tent when we zip up for the night. Starting off with moist air means that it won’t be long before the air is saturated with water and condensation starts forming.
Consider this, we should choose a tent site that meets as many of the following criteria as possible:
Once you have found a good site, and have finished setting up the tent, stake out the rain fly far enough that it isn’t touching the inner tent at all.
This will ensure that any condensation that does form, forms on the inside of the rain fly rather than our inner tent.
Eliminate Moisture Sources (where possible)
Now that we have chosen a campsite with favourable external conditions, we should take a look at the inside of our tent. We need to make sure that we aren’t creating any unnecessary moisture here that will ultimately become condensation.
In an ideal world we wouldn’t breathe inside our tent, but that is obviously not possible! However, breathing isn’t the only way that moisture accumulates.
Putting wet hiking gear such as raincoats, boots and socks inside your tent will add a great deal of moisture. Wet dogs will also contribute to the moisture load.

Don't let him in until he's dried off!
Do your best to dry off any gear (and dogs) before bringing them into your tent.
Don’t boil any water or do any cooking in your tent, as the steam coming off will rapidly saturate the air in your tent with moisture.
Ventilate Your Tent
Now that we’ve set up our tent in an appropriate position and eliminated sources of excess moisture inside the tent, our job is done, right?
Not exactly. Ventilating your tent is the final, yet critical step in the processing of stopping condensation in your tent.
As I mentioned earlier, the amount of moisture in the air in your tent steadily increases as you are sleeping. However, if you open some ventilation points in your tent (doors, windows or ports) you can exchange this moist air inside your tent with drier air from the outside.
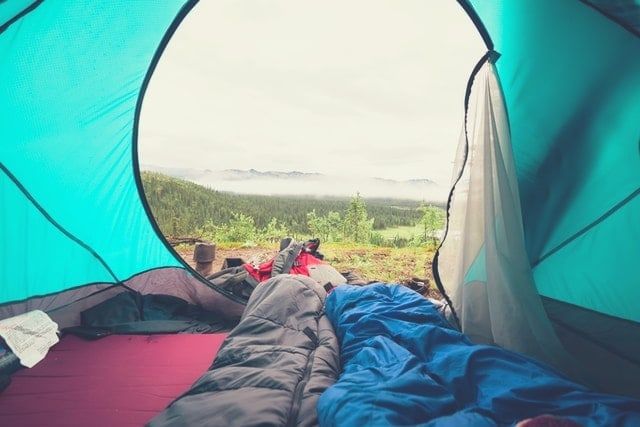
This gets rid of the moisture before it even has a chance to start condensing! Here’s what to do:
Depending on the conditions that you are camping in, it may be too cold to have the windows and door open, so just stick to opening the ventilation ports.
Pop up tents often have small or no windows, which makes them quite prone to condensation issues. Traditional swags also typically don't have any ventilation points and are very small, which makes them susceptible as well.
Generally speaking, cheap tents will have more condensation issues than better quality tents, as they often have fewer ventilation points, are made from less breathable plastic and sometimes don't have a separate inner and outer tent.
In any case, if you find yourself freezing inside your tent if the windows are open, you probably need to invest in some better sleeping bags before your next camping trip. YesHiking cover this (along with a number of other great tips) in their guide on how to stay warm in your tent.
What If I Still Get Condensation?
Unfortunately, it’s very difficult to completely eliminate condensation inside your tent (unless you are camping in very warm conditions).
I recommend that you take along a small microfibre towel or similar to quickly mop up any condensation once you wake up. These towels dry quickly, so just hang it up while you eat breakfast and it should be dry by the time you are ready to go.
If you don’t have a towel, try to let your tent dry out before packing it up, if possible. If you will be setting it up again that evening, you can pack it away wet, and then set it up wet again.
However, if you will be putting it away into storage, definitely let it dry out before packing it away, otherwise mould will start growing on it. Cleaning mould growth on your tent is a real pain, so it's better to make sure that you don't let any grow in the first place.
Summary
Condensation is an unpleasant, yet often inevitable, part of camping. That being said, there is plenty that you can do to at least minimise, if not prevent, condensation from forming inside your tent.
Firstly, site your tent appropriately to ensure that the air isn’t too moist, and that the air outside your tent won’t be too cold overnight.
Secondly, keep wet gear and cooking outside the tent, to stop these from contributing to the moisture load.
Lastly, ventilate your tent as much and as often as possible to dump the moist air from your tent and exchange it for fresh, dry air.
By carrying out these steps, you will greatly reduce how much condensation forms inside your tent. Hopefully you are able to keep the unpleasant dripping at bay!
Note: If you are having similar issues in your RV, check out this guide on caravan condensation!
This article may contain affiliate links. I will earn a commission if you choose to purchase a product or service after clicking on my link. This helps pay for the cost of running the website. You will not be disadvantaged in any way by using my links.
Note that while every effort is made to ensure the accuracy of the information on this page, there may sometimes be errors. Check all specifications with the manufacturer before purchasing any product.

