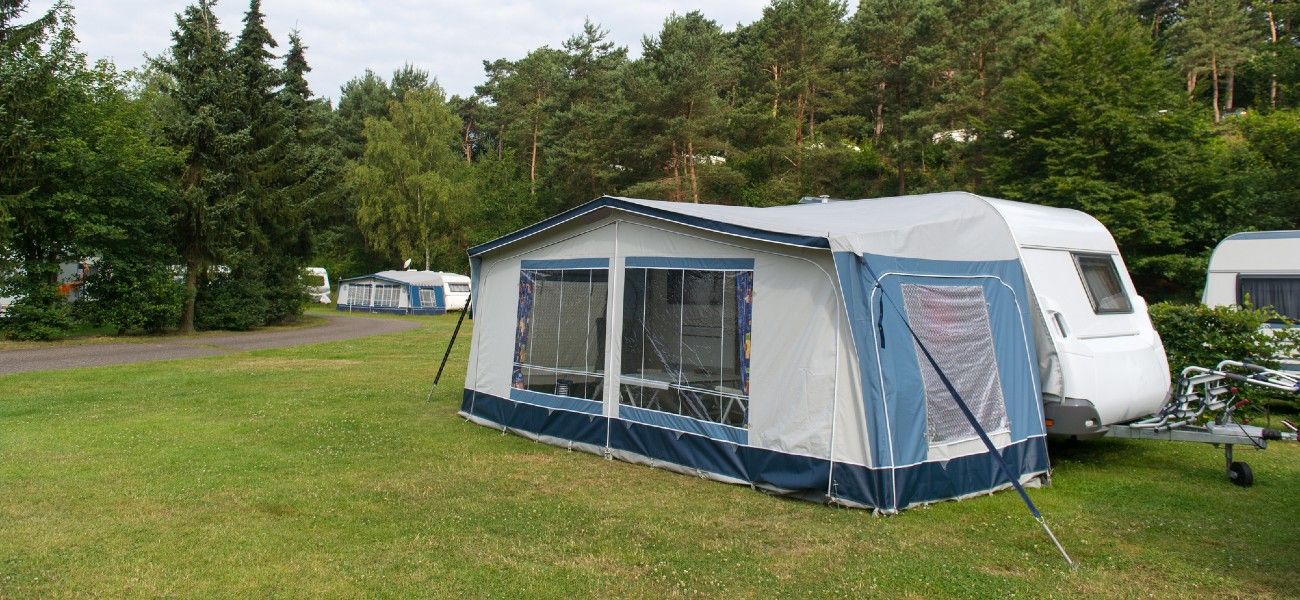
Setting up a caravan annex is an affordable and great way to extend your living space when living in a caravan. But how do you put up a caravan annexe?
In this article, we will discuss exactly how you can set up your caravan annex in less than 30 mins. We will also discuss how much they typically cost.
7 Steps to Set Up Your Caravan Annex
I’ve broken down the setup into 7 easy steps to help you set up your caravan annexe. I’ve also included a video if you prefer to watch the entire process.
https://www.youtube.com/watch?v=-KkV2R69Bng
Step 1: Roll out your awning
Assuming that you’ve already put up your caravan awning, roll it out. If not, then you should follow our step-by-step guide on how to set up your caravan awning.
A few things to note is that you should not roll it all the way out. Bring it until the sail track groove or the strap is pointed at 12 o’clock.
The reason for this is that you want the holes on the awning barrel to be positioned where they need to be once you start setting up the anti-flat kit and the curved roof rafter.
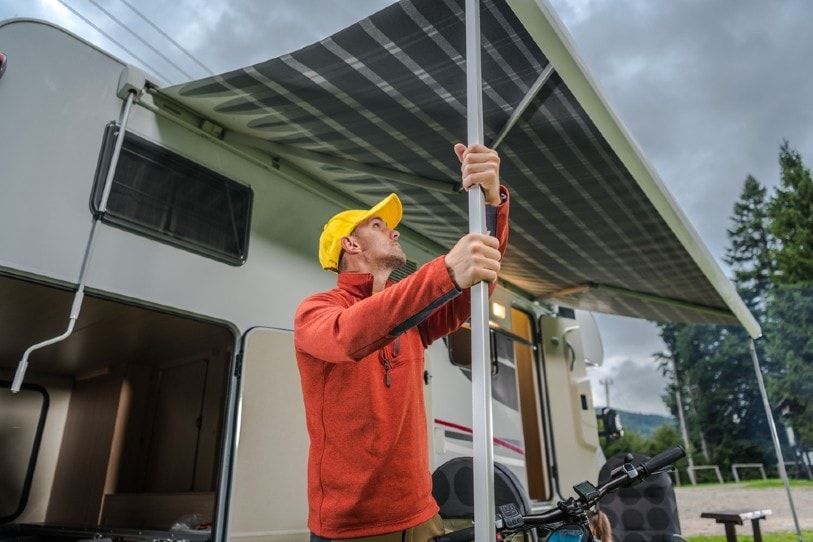
Once the awning is rolled out, peg the poles to the ground 2500mm away from the van. Use a measuring tape for accuracy.
Put some tension to the roof by pulling the poles away from the caravan and tightening the knob. Do it for both sides.
Then, you’re ready to move on to the next step.
Step 2: Install the anti-flap kit
The anti-flap kit poles are used to keep the vinyl roof from flapping and hold the annex walls in place.
Take out the anti-flap kit and put them together to create one long pole. Then, open the black handles which are used to clamp down the vinyl.
Once that’s done, attach the anti-flap kit to the bracket of the caravan and insert the anti-flap kit spigot to the hole of the awning barrel.
Grab the vinyl roof from the space in the centre of the anti-flap kit then clamp the black handles to lock the vinyl in place.
Do the same to the other side.
Step 3: Install the curved roof rafter
The curved roof rafter’s main purpose is to prevent the water from pulling in the awning and keep the awning up.
Install it the same way you installed the anti-flap kit. Attach the other end to the van’s bracket and insert the spigot on the other end into the holes in the awning barrel.
Apply some tension by lengthening the raft and tightening it by twisting the knob clockwise.
Step 4: Attach the draft skirt and the side strip to the van
Attach your drafts skirts into the caravan by pushing on the studs. If you have a step, attach the draft skirt in the step first before you move on to the other sides.
Then, run the side strip on the sail track of the caravan. Then, attach the draft skirt to the side strip using the velcro.
Do this on both sides.
Step 5: Install the annexe walls
Begin with one end wall (side wall). Slide the top part of the annexe walls onto the sail tracks of the anti-flap kit. Then, attach the side annexe wall to the side strip using velcro.
Insert one side of the long wall (front wall) by running the top part of the wall into the groove on the awning barrel. Then, attach the two walls using the zipper.
It’s important to note that the long tabs (or cam buckles) of the long wall should be on the corner side while the short tab should be on the middle.
Secure the cam buckles or velcro tabs to the legs of your awning.
And once you’ve done that, you now have one corner of your annexe walls installed. All you have to do is to install the other corner of your annexe using the same process.
Step 6: Attach the support poles
Install the side interior support poles into the pole pockets of your side walls. Then, install the centre support pole by inserting the spigot into the hole on your awning barrel and extending the pole to the ground. Secure the front long wall using the short velcro tab.
Step 7: Secure the annexe walls to the ground
Secure the annexe walls to the ground by inserting the ladder straps to the hooks on the bottom of the annexe walls and securing them to the ground using screw-in pegs.
This helps prevent the walls from flapping when it gets windy.
You may also like to place down some annex matting.
How Much Do Caravan Annexe Walls Cost?
Caravan annexes (separate from the awning) costs around $1,300 to $1,500 depending on the size and brand of your desired annexe.
Alternatively, there are inflatable awnings with built-in annexes ranging from $1,500 to $2,000.
If these are out of your budget, you could instead get a privacy screen instead. These don’t offer the same degree of protection, but they typically cost less than $100.
Final Thoughts
Many caravan owners desire extra private living space for themselves and their families. And one of the easiest ways to do that is by installing an awning with an annex.
Installing the annex walls could be easily done by following the 7 steps we’ve laid out in this article.
This article may contain affiliate links. I will earn a commission if you choose to purchase a product or service after clicking on my link. This helps pay for the cost of running the website. You will not be disadvantaged in any way by using my links.
Note that while every effort is made to ensure the accuracy of the information on this page, there may sometimes be errors. Check all specifications with the manufacturer before purchasing any product.

