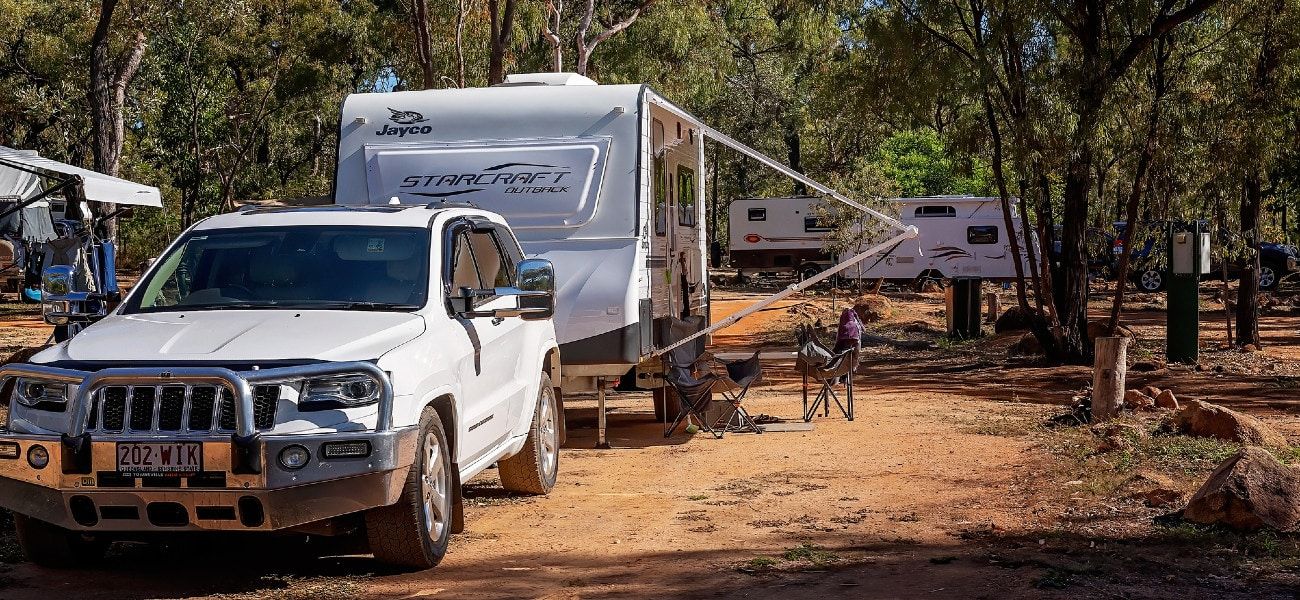
An awning is a great accessory to provide some shade as well as some additional outdoor space when living in a caravan. But bird droppings, dust, moulds, and all sorts of things leave their stain, turning your caravan awning into a filthy mess.
So how do you effectively clean a caravan awning?
In this article, I will give you a step-by-step guide on how to easily and effectively clean a caravan awning. I will also share with you a solution that has proven effective at removing moulds and hard stains from the awning.
You could probably also use a similar technique to clean your caravan annex or privacy screen.
Step 1: Pull out the awning
The first step is to expose the entire awning by setting it up. That way, you’ll see what you’re up against.
You don’t have to detach the awning from the caravan. You can simply spread it out the exact same way you do when you use it.
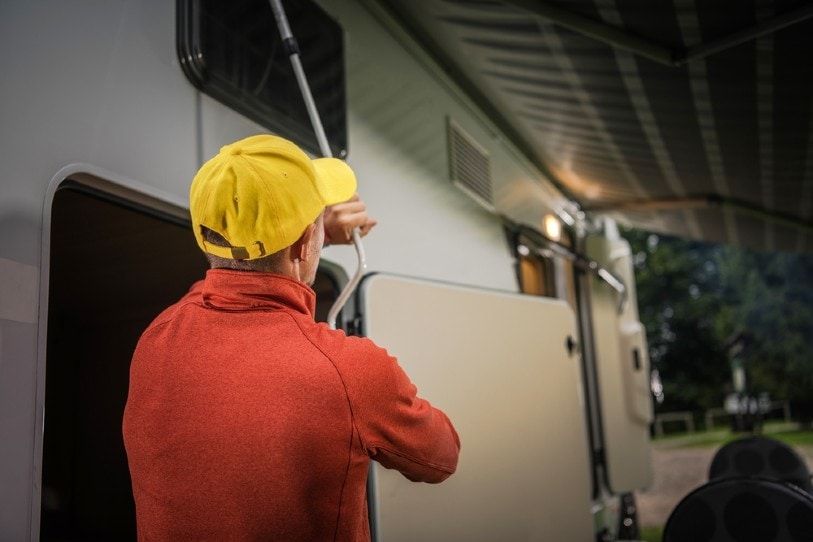
Step 2: Remove loose dirt
Using a broom, brush the loose dirt, leaves, and dust that can be removed without the use of chemicals.
Don’t worry about bird droppings, molds, and saps that you can’t get off with the broom. They require some chemical intervention which we will discuss in the next step.
Step 3: Spray on an awning cleaner
Cleaners like the Thetford or Camco awning cleaner are safe to use for any type of awning. They are chlorine-free and mild which does not cause discoloration or damage to the waterproof coating.
Spray a generous amount on both sides of the awning. To complete this step, you might need to use a ladder to reach the top part of the awning.
Alternatively, you can create your own solution by mixing 1 teaspoon of bleach and 1 teaspoon of detergent into a gallon of water. Be aware that the bleach does contain chlorine, so it may be more aggressive than the Thetford cleaner.
Step 4: Roll up the awning
Next, roll up the awning and let the chemical sit for about 30 mins. The chemical will react with the moulds, saps, bird droppings, and hard stains on your awning.
Step 5: Roll it out and brush it portion by portion
After you roll out your awning once more, use a wash brush to scrub off the hard stains. Since the chemicals have done their job in loosening them up, it should be way easier to brush off those stains.
You can also hose it down with a little bit of water as you brush the stains to make it easier to get them off.
Remember, scrub the stains gently. Putting too much pressure when you brush may damage your awning.
Also, I find it way easier to use an extendable wash brush instead of a hand brush. Ideally, use a brush with soft bristles or microfiber end to avoid damaging your awning.
Step 6: Rinse it off
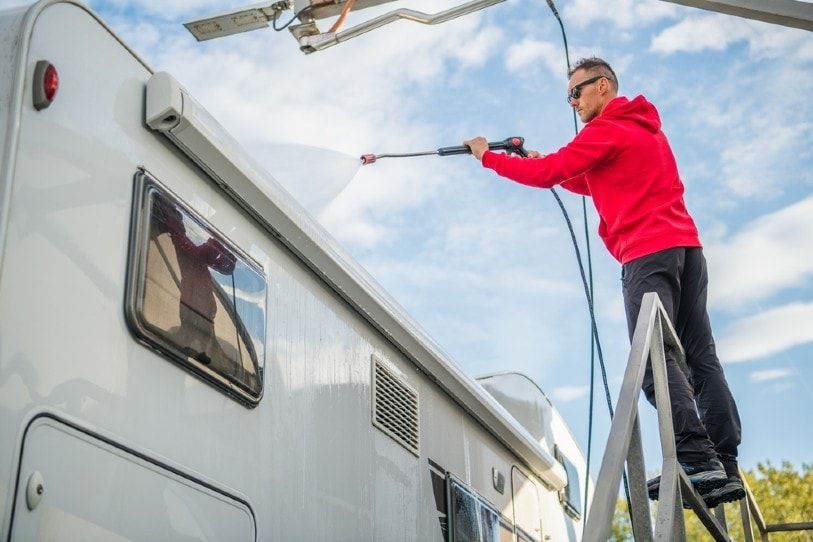
Once you’ve brushed off the hard stains in your awnings, it's time to give it a rinse to remove excess chemicals and loosened stains.
A hose is the best tool for the job, however, a bucket or two of water would be fine.
Step 7: Let it dry
Lastly, leave the awning pulled out, and let it dry. If you have access to a blower, you can speed up the process by using it to dry the awning.
Make sure you remove the pooling of water on top of the awning if there’s any. It may help to pitch the awning on an angle if that’s possible.
Conclusion
Cleaning your awning doesn’t have to be hard. Using the right tools and chemicals, cleaning the awning can be as simple as the process laid out above.
In removing moulds, saps, and hard stains, simply apply an awning cleaner and let it sit for half an hour rather than trying really hard to scrub it off. This way, you save time, energy, and effort.
For more info, check out this cleaning guide from Wikihow.
This article may contain affiliate links. I will earn a commission if you choose to purchase a product or service after clicking on my link. This helps pay for the cost of running the website. You will not be disadvantaged in any way by using my links.
Note that while every effort is made to ensure the accuracy of the information on this page, there may sometimes be errors. Check all specifications with the manufacturer before purchasing any product.

