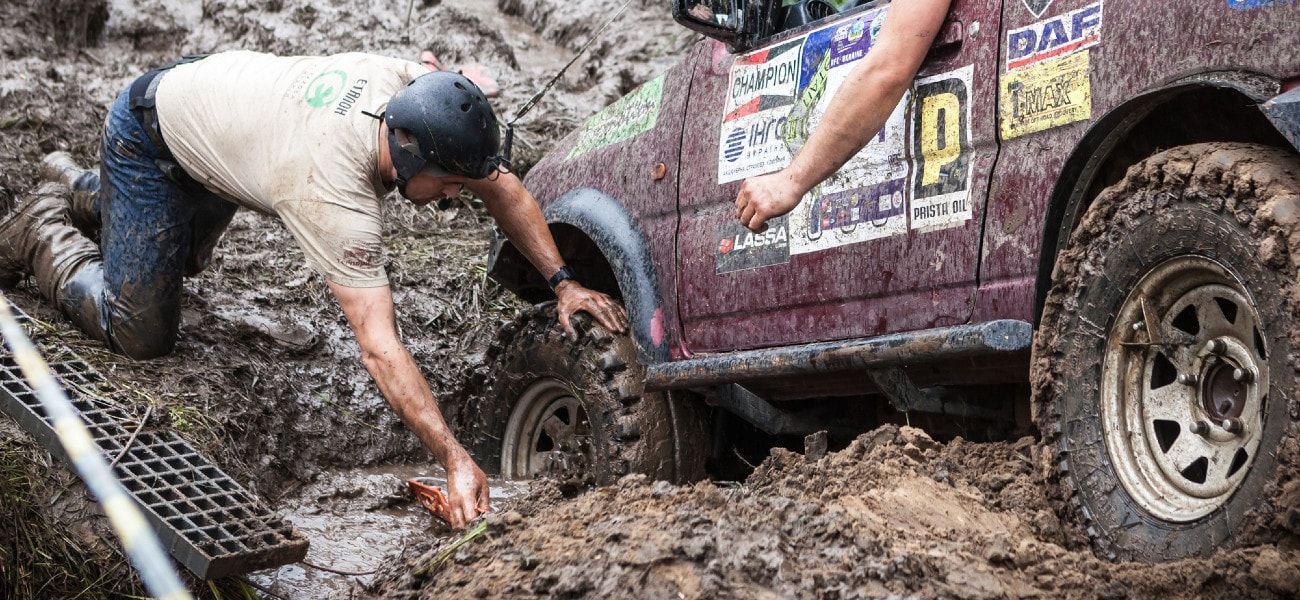
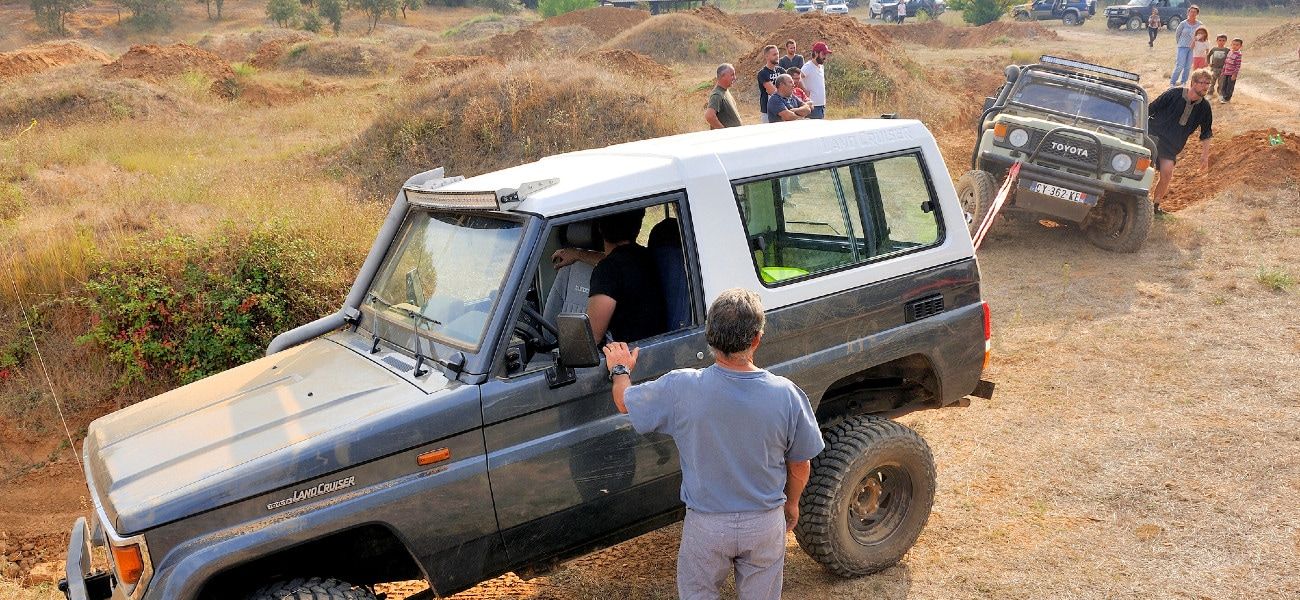
Recovery tracks are some of the most important accessories for off-roaders.
Disaster can strike at any moment so it’s important to be prepared. A pair of recovery boards can get you back on the trail in no time at all. Simply mount the boards and drive the 4WD out of trouble.
In this guide, we’ll look at how to use recovery tracks. After all, it’s crucial to fit them in the right way to stay safe and reduce the risk to your vehicle.
Let’s get started!
How Do Recovery Boards Work?
Sometimes the terrain is too loose or soft for a vehicle’s tires to grip.
If you continue to accelerate the wheels will likely spin and become increasingly stuck. Recovery tracks fit underneath the wheels and provide more traction. Another benefit is the increased elevation that helps to raise the vehicle out of a dip or hole.
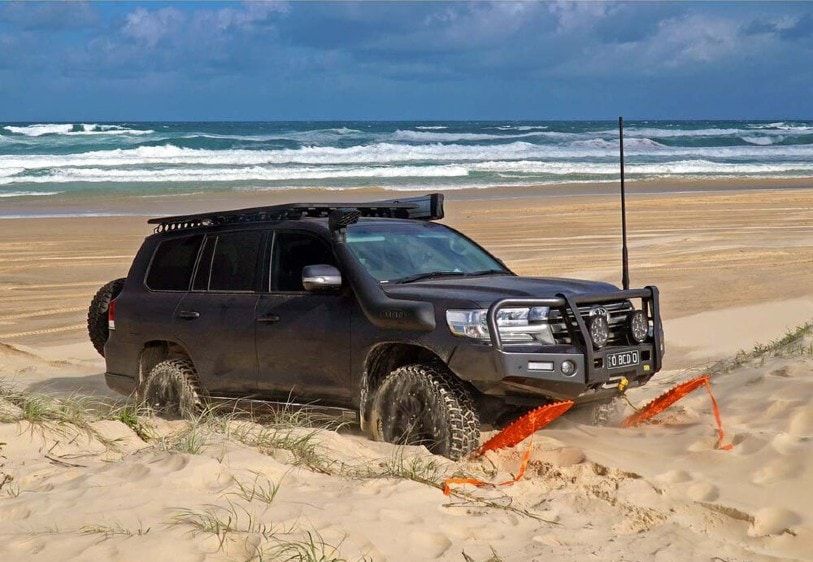
As well as clearance, they offer floatation which is important in sand or mud because it’s easy for a heavy vehicle to sink.
How to Use Recovery Boards?
Now let’s look at the steps to use recovery boards correctly. For a visual guide on how to use Maxtrax, check out this video from 4X4 Australia.
- Use your shovel to clear the sand or mud around the affected wheels. Try to create as flat a surface as possible to make it easier to insert the boards and reduce the initial angle.
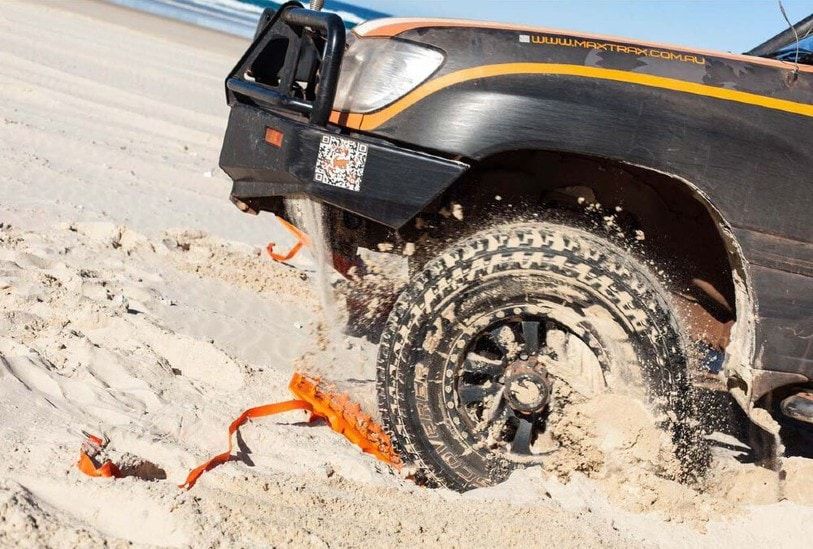
- Jam the recovery boards under the wheels in the direction you want to go.
- Ensure that any passengers or onlookers are standing clear of the vehicle.
- Engage 4WD and slowly mount the board. Once the wheels gain traction you may gradually increase the speed.
- Once your vehicle is clear of the area, retrieve the boards.
- Depending on the terrain, it may be necessary to repeat these steps multiple times, inching forward a few feet at a time. If not, stow the boards away. Don’t forget to clean them later!
Things to Be Careful of When Using Recovery Boards
There are several safety aspects to consider when using recovery boards.
Firstly, don’t drive too fast! There is a risk of the wheel spinning off the tracks and you could even damage them. A slow and steady approach is advisable.
Don’t forget to engage the handbrake before you exit the vehicle, even if it’s bogged down. Sometimes people don’t think about this and the vehicle rolls forward when they dig the wheel out.
Also, make sure your passengers are standing out of the way. When wheels spin rapidly they can send debris flying into the air. Small stones, twigs and other objects can take out a person’s eye or cause severe cuts.
Use the supplied straps to make it easy to recover submerged boards after you use them. Otherwise, it can be difficult to find or free them.
How to Mount Recovery Tracks to Your Vehicle
If you have a roof rack you can usually lock the boards using the supplied clamps. This is easy to do. However, you can create a homemade mounting system if necessary.
Level the board so that it doesn’t wobble. Use the manufacturer’s fasteners to attach the tracks to the roof to avoid twisting. It’s also possible to stow the tracks inside the vehicle but they will take up space.
Remember not to leave recovery tracks mounted or exposed to the sun all of the time. Otherwise, they may suffer UV damage. If you’re driving in the city, leave the tracks undercover in your garage.

How Many Recovery Tracks Do I Need?
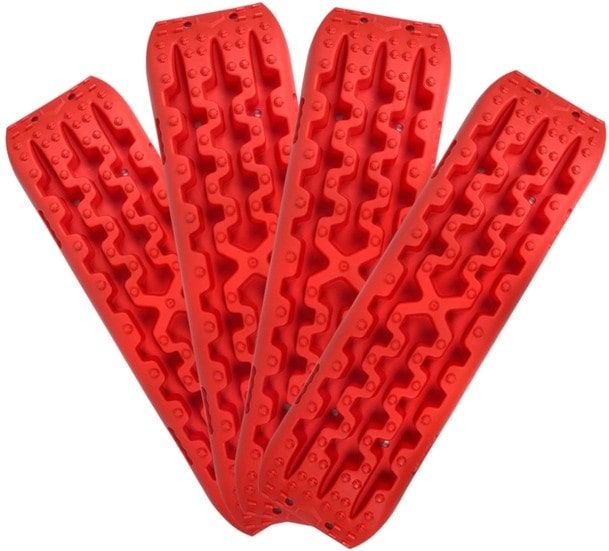
It’s advisable to have a minimum of two recovery tracks but four is even better.
This ensures that you’re prepared for every eventuality and can save you time when you’re trying to free your bogged-down vehicle. If you’re towing a trailer you may even want to take as many as six tracks.
What Else Do I Need?
Recovery tracks usually have in-built shovels.
However, the reality is that they’re clunky and it’s difficult to dig with them. They’re better than nothing in a pinch but it’s better to keep a small shovel in the vehicle. This will make life easier.
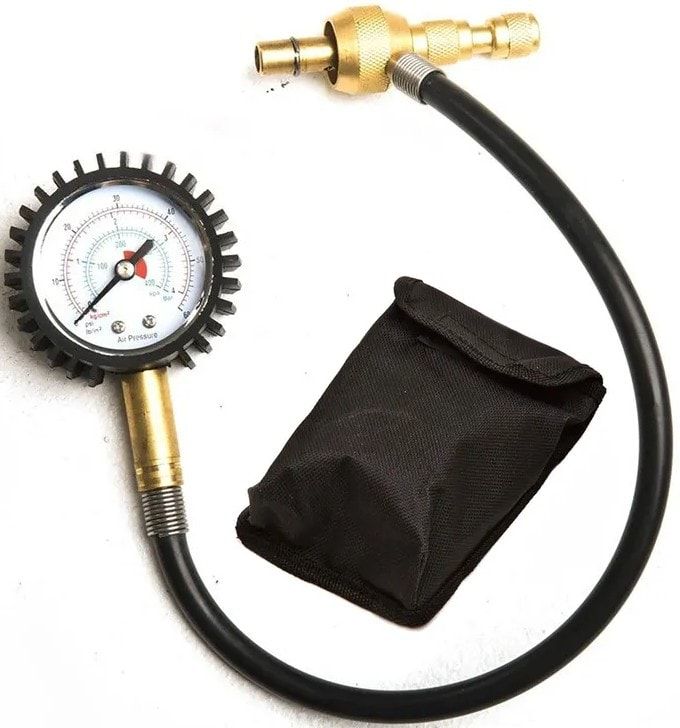
Another useful tool is a tyre pressure gauge or tyre deflators. Depending on the terrain, it may be advisable to reduce or increase the tyre pressure. This will make it easier for the vehicle to grip the surface.
Final Thoughts
Recovery tracks are an invaluable asset.
Anybody whose 4X4 gets stuck in the sand with an approaching tide will tell you that they’re a great investment. When you mount them to the roof they’re out of the way so you don’t have to worry about space either.
Exercise patience and care when you use your tracks so that everybody stays safe. Meanwhile, look after the boards so that they’re ready to go when you need them. Don’t leave them in the sun and always clean them after use.
If you have any questions about recovery boards, please leave a comment below!

