Reversing a caravan through narrow campgrounds and tight parking spaces is no easy task. That is why installing a reversing camera is a great way to increase safety. But how do you do it?
Installing a reversing camera in a caravan may seem like a daunting task. But with the right tools and knowledge, you will be able to connect a reversing camera to your car within a day. That is what this article is all about.
IMPORTANT NOTE: This advice is general in nature and can’t cover every possible caravan and reversing camera. Always follow the instructions in your manufacturer’s manual for the best results.
Tools Needed For Installation
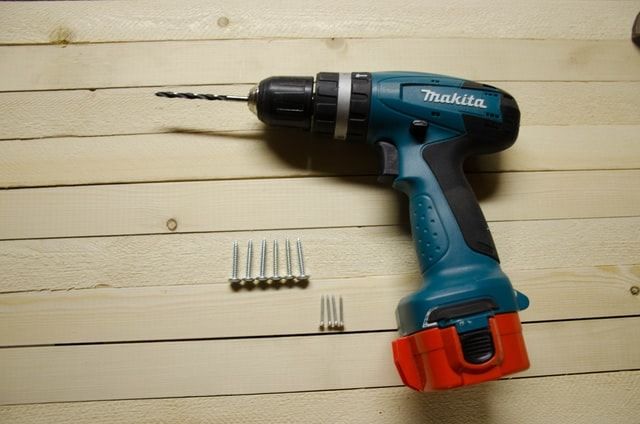
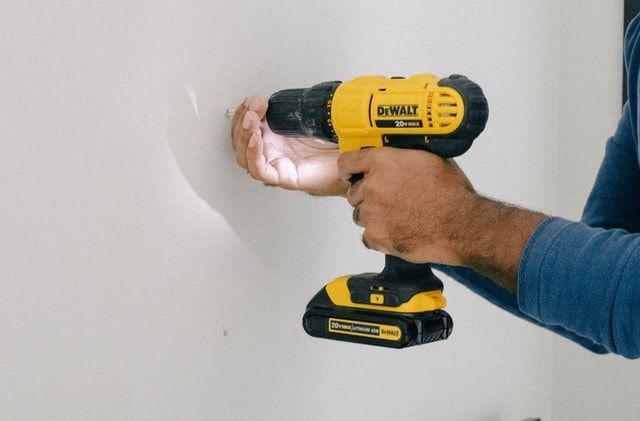
Power Drill
Power drills are used to make a hole for the camera cord to pass through. You’ll also need a 20mm hole saw attachment to make a hole big enough for the cord.
There are two types of power drills, cordless and corded. Using a cordless or battery operated one makes the whole process much easier.
Sealant
The sealant is used to prevent the passage of water through the holes you’re going to make.
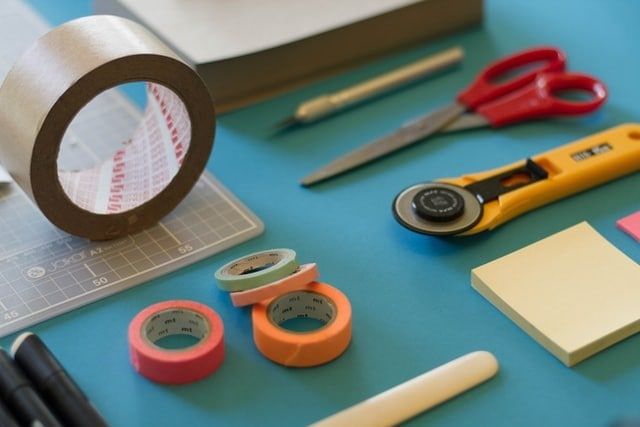
Zip Ties and Electrical Tape
Zip ties and electrical tape are used particularly for bonding the connector cable to the trailer cable and tidying the setup.
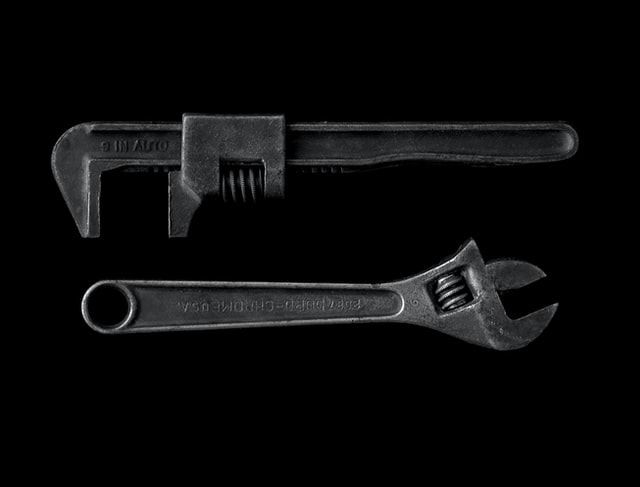
Allen keys or Wrench
Depending on the model of your camera, you’re going to need either Allen keys or a wrench to tighten the screws that attach your camera to the brackets.
5 Steps To Installing a Reversing Camera In a Caravan
Step 1: Drill a hole in the centre rear of the caravan
Measure the total width of the caravan and get half of the measurement. That will be the centre of the caravan. Then, mark the centre using a marker.
Use a power drill to create a hole in your mark. Then, attach a 20mm hole saw to your power drill to drill a 20mm hole in your caravan.
Drilling a small pilot hole before drilling with a 20mm hole saw allows you to see the midpoint more clearly. The small hole acts as a stabiliser for when you start drilling the 20mm hole.
This hole is where you’ll run the cable that connects the monitor to your reversing camera.
Step 2: Fit and seal the brackets
Screw the brackets in place. Using tek screws or self-drilling screws makes the job faster by eliminating the need to drill another hole for screws.
After the brackets are in place, it’s a good idea to seal the screws using a sealant. This will prevent water from leaking through the screws.
Step 3: Install the camera
Once the brackets are in place, attach the camera(s) to your desired angle. Tilting the camera upward will show you a farther distance from the back of your caravan while tilting it downward will show less.
Ideally, you want to tilt it just enough so that the camera shows objects that are close to your rear bumper.
Use the Allen keys to tighten or loosen the side bolts located on both sides of the bracket.
Step 4: Set up the cable
Setting up the cord requires deliberate planning.
Run the connector cable along the same path as the trailer cable. It usually runs from the cable lead at the front of the caravan to underneath the chassis to the back of the caravan. Use zip ties to attach the connector cables to the trailer cord.
The connector cable should be slightly longer than the trailer cable so that it can be adjusted as necessary.
Drill a hole in the floor of the caravan at the rear side to create a passageway for the connector cable. Think it through, don’t just drill a hole anywhere. Make sure you can find a route to hide the cable.
If you have cabinets at the rear side of the caravan, it’s a good idea to run the cord inside the cabinet so that it is hidden from sight.
Make sure to seal the hole with a sealant after you’ve set up the cord.
Step 5: Connect the cables
Lastly, connect the camera and monitor by connecting the respective ends of the connector cable to the cables of the monitor and camera.
The reversing camera should start to work once you’ve connected the cables.
Final Thoughts
In my opinion, the hardest part about the whole process is running the connector cables through the length of the caravan and planning a route to keep the setup tidy. But once you’ve nailed that, everything else should be easy.
This article may contain affiliate links. I will earn a commission if you choose to purchase a product or service after clicking on my link. This helps pay for the cost of running the website. You will not be disadvantaged in any way by using my links.
Note that while every effort is made to ensure the accuracy of the information on this page, there may sometimes be errors. Check all specifications with the manufacturer before purchasing any product.


